If you’re looking to build Webflow multi step forms then you’re in the right place. In this post, we’re going to show you exactly how to create multi step forms for Webflow.
But, we aren’t talking about just basic multi step forms.
We’re talking about high converting multi step forms. We’ll even provide some conversion boosting tips at the end of this post.
Ready? Let’s go!
Need to quickly create a multi step form with Webflow? You can use GetLeadForms to build a super advanced multi step form based on a proven template that’s optimized to convert. Grab your free trial here.
What is Webflow?
Webflow is a no code, visual web design software for creating responsive web pages. It can be used to create landing pages, blog posts, eCommerce sites, and more.
What we like about Webflow is that you can build completely customized SEO-friendly websites and landing pages without having to hire a developer. This makes Webflow a great alternative to WordPress and perfect for marketing and design teams that need to move fast.
And Webflow is even loaded with features like:
- Web Design
- Motion Design
- CMS
- Components
- And Integrations
But what about multi step forms?
Can you create multi step forms in Webflow?
Yes, you definitely can.
How do I create a multi step form in Webflow?
When it comes to creating a multi step form (or a Webflow multi page form), you have a number of options:
- Create a form from scratch inside of Webflow
- Use a pre-built Webflow template
- Use a third party form builder
Let’s dive a bit deeper, along with the pluses and minuses of each.
Option #1: Create a multi step form inside of Webflow (from scratch)
Creating a basic single-step form inside of Webflow is pretty easy.
But creating a multi step form inside of Webflow gets a bit more complex.
According to Webflow, the process of creating a multi-step form consists of using a slider with Next and Back buttons, and with some custom code.
With that said, the topic of building a multi step form from scratch in Webflow could get pretty lengthy and would need a post of its own. So for now, you can check out this tutorial using Alipine.js if you’re interested in doing it all yourself.
——–
Pros:
- Free
- Maximum control over design
Cons:
- Takes a ton of time
- Lack of advanced features and functionality
- Hard to test and optimize
Option #2: Use a Pre-built Template
Weblfow has a huge community of marketers and designers who are building things for Webflow and sharing their work.
That’s why the second option is to use a pre-built multi step form template.
Using a template could be a much better option than building a multi step form from scratch.
Especially considering the amount of time you’ll save.
And there are a quite few nice looking pre-built templates inside of Webflows template library
You can see the multi step form templates here.
Pros:
- Free for most templates
- Control over design
- Time savings
Cons:
- Still takes time to modify
- Lack of advanced features and functionality
- Hard to test and optimize
Option #3: Use a third party form builder (recommended)
Even though it’s technically possible to create a multi step form inside of Webflow, it’s still rather challenging to create a more sophisticated form that you can rapidly test and optimize.
And just because it’s possible to create a multi step form in Webflow…
…. It doesn’t mean you need to.
There are better solutions out there, which are dedicated to building more advanced multi step forms.
One of those tools — GetLeadForms.
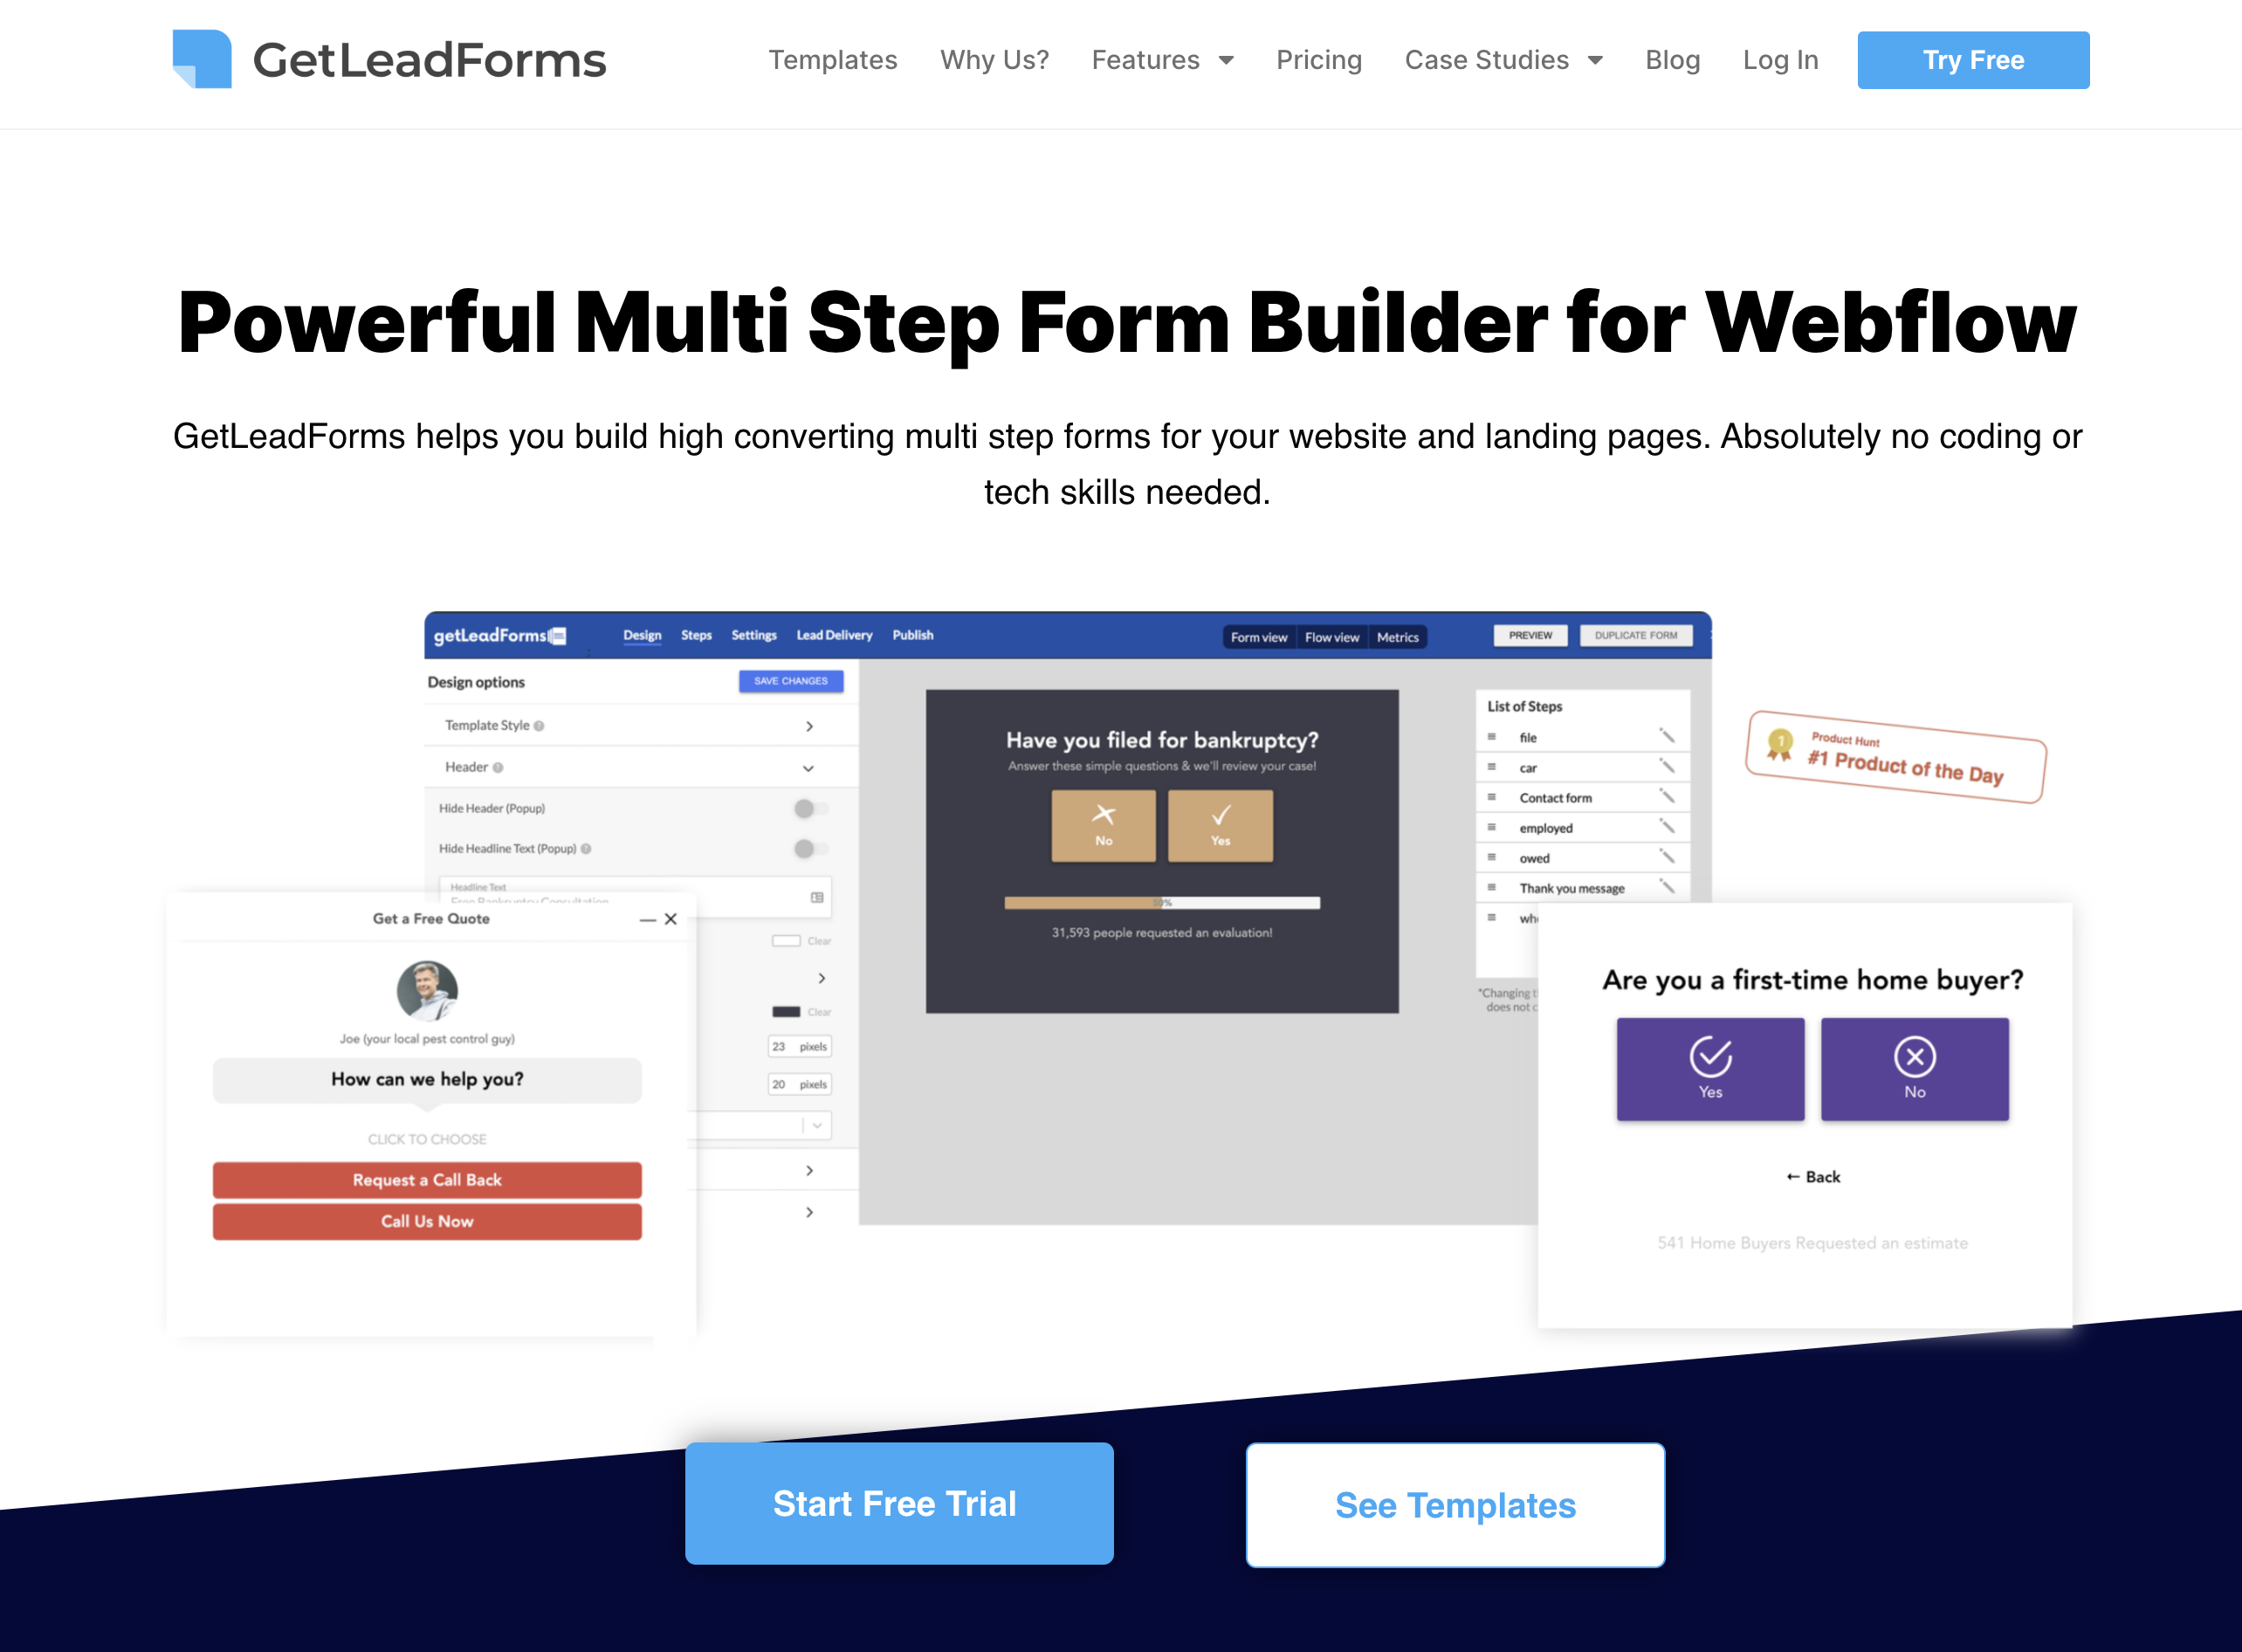
With GetLeadForms you can easily build and optimize more advanced multi step forms for your marketing campaigns.
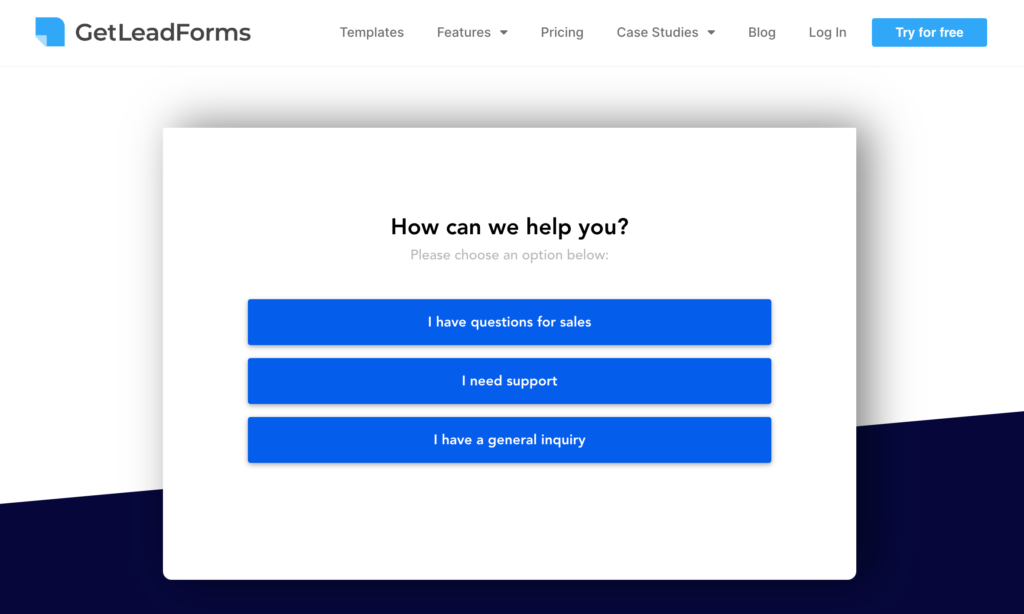
And you can even get more advanced with your contact forms and make a multi step contact form for Webflow like this:
Pros:
- Proven templates to help you quickly get started
- Works out of the box for Webflow
- Advanced features (social proof, conditional logic, email notifications, verification features, webhooks, integrations, analytics, and more)
Cons:
- Not free
How to make a multi step form for Webflow using GetLeadForms
GetLeadForms provides you with the ability to create high converting multi step forms, which can then be added to your Webflow page.
In addition, you also get more advanced features like:
- Conditional logic
- Real time social proof
- Lead and SMS notifications
- Lead verification
- Analytics and drop-off metrics
- Webhooks and direct integrations
- Address auto complete
- Lead routing
- Database bypass for our EU marketers out there
And the list goes on
Now let’s dive into the steps needed to create a multi step lead form for Webflow.
Steps to create a lead form for Webflow
If you’d like to follow along, then you can get setup with a free trial of GetLeadForms. After you create a free trial account or login, please follow the steps below:
1) Pick a template
GetLeadForms comes loaded with templates for almost every industry.
Simply click ‘Create LeadForm’ and select a template.
2) Update your template’s design and branding
The next step is to update the template’s design to make it your own.
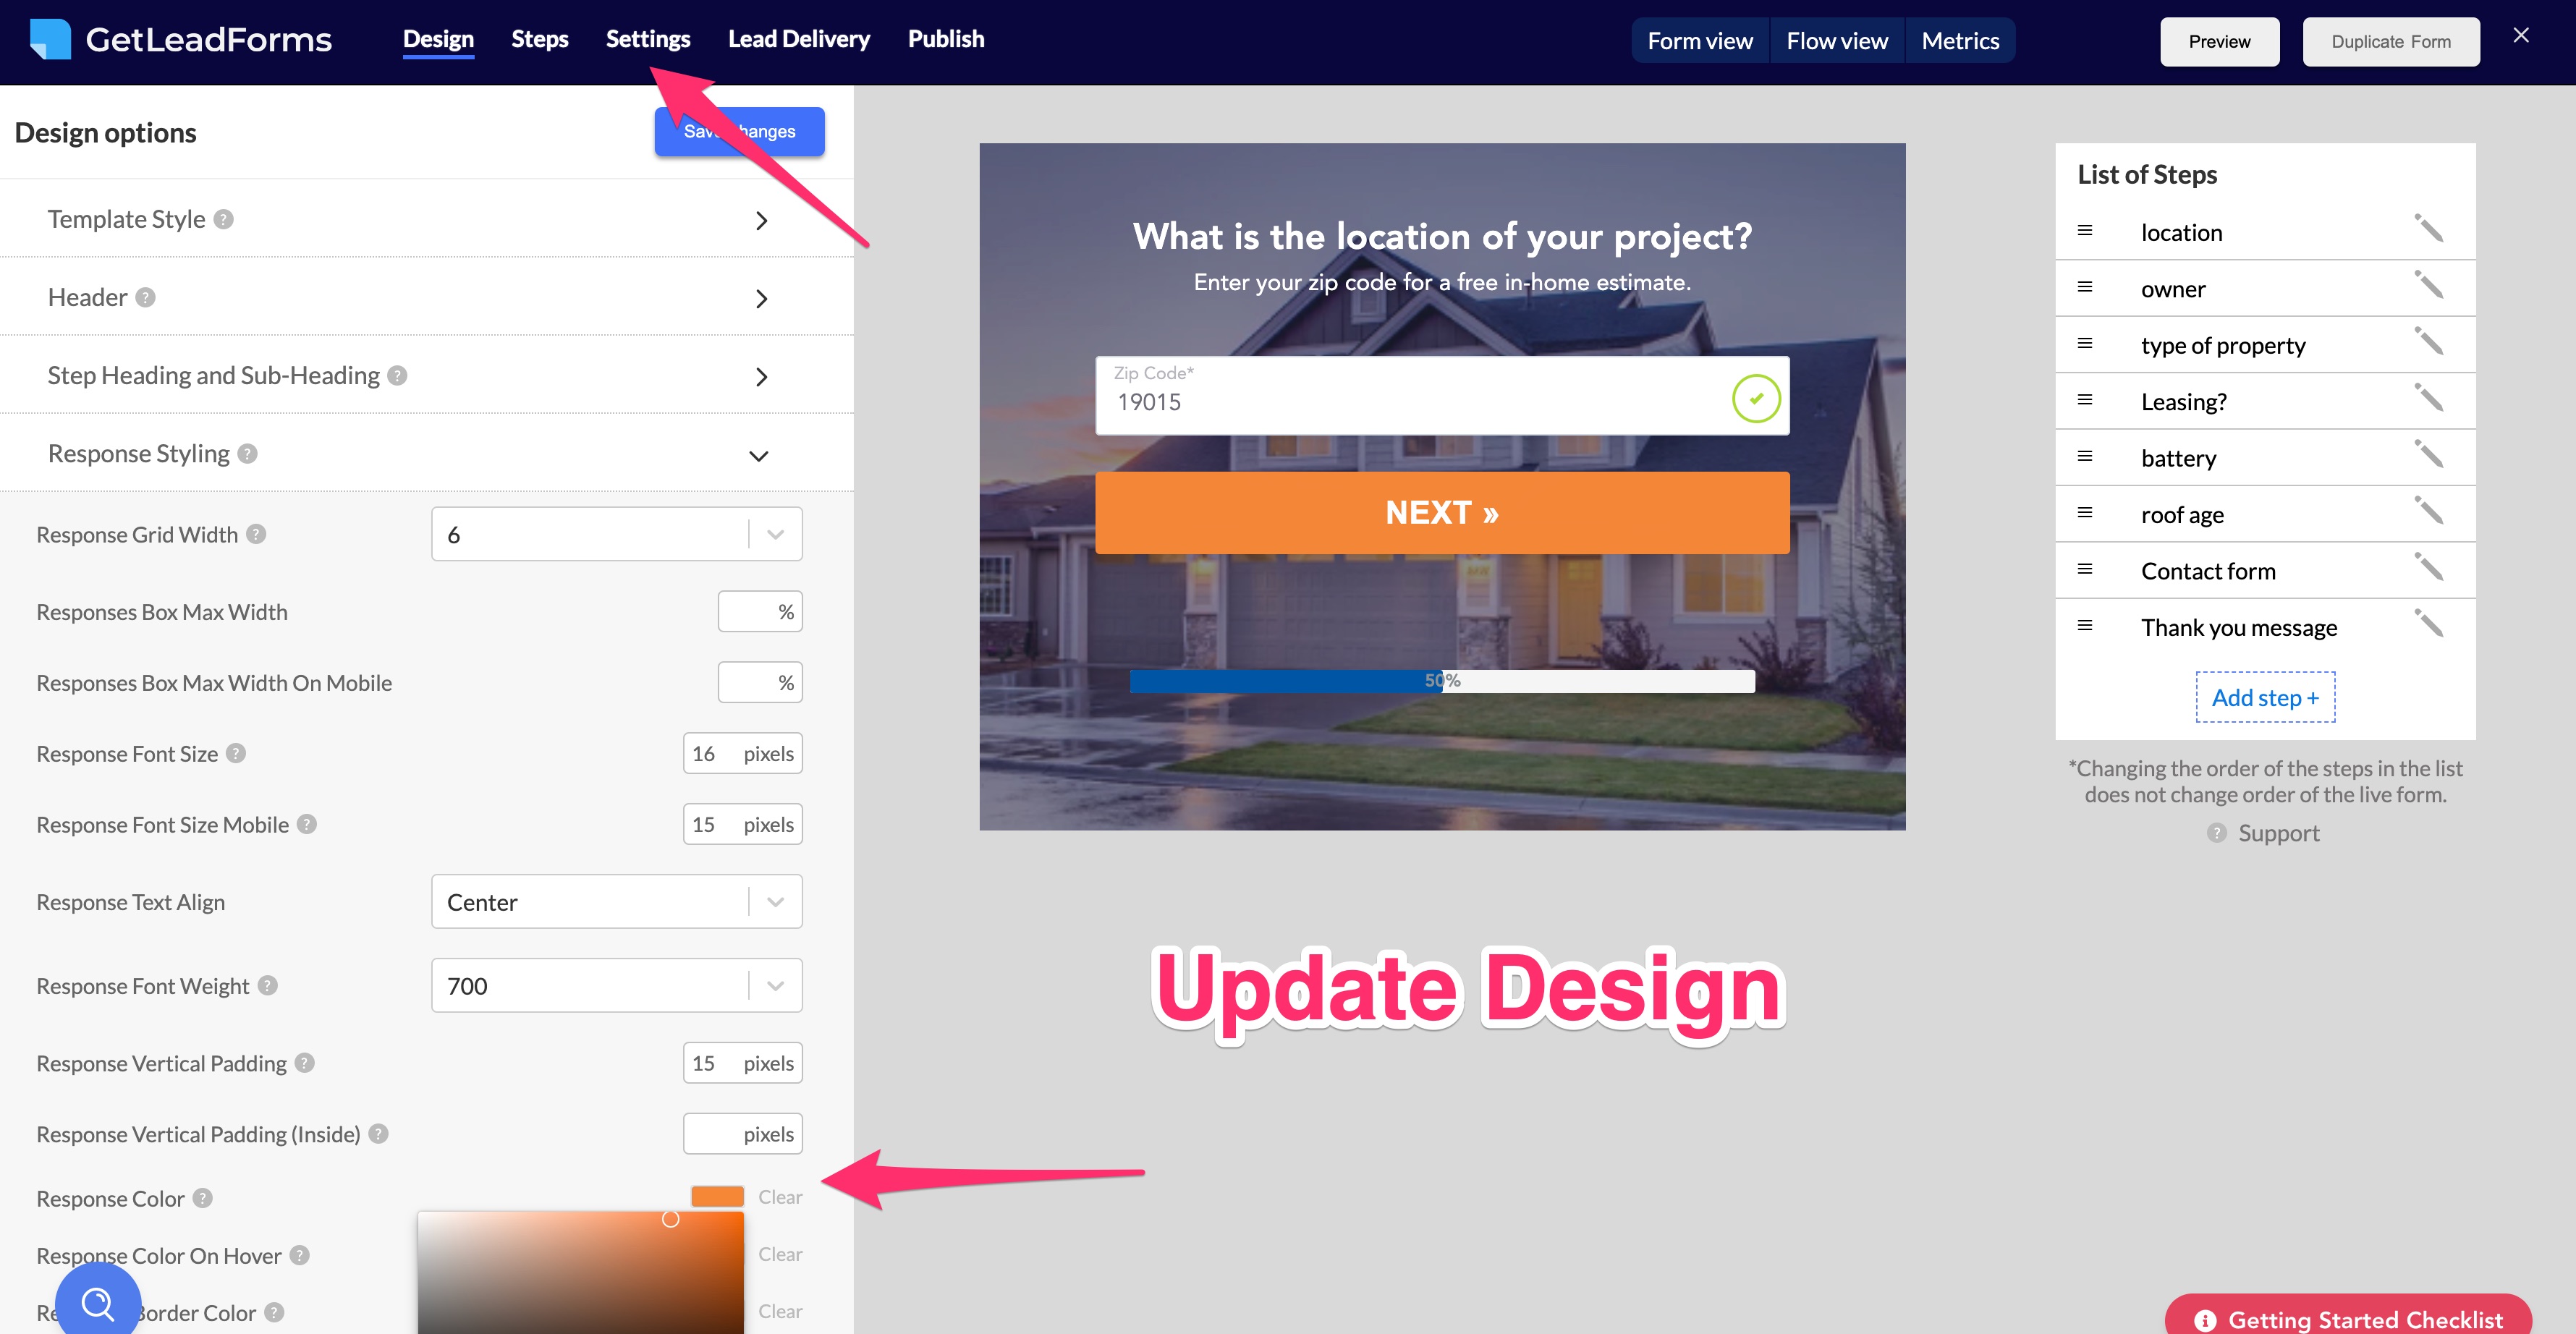
Adjust colors, template style, font, and more.
3) Add questions and steps to your form
This is where the magic happens.
The next step is to begin adding your questions and responses to your LeadForm.
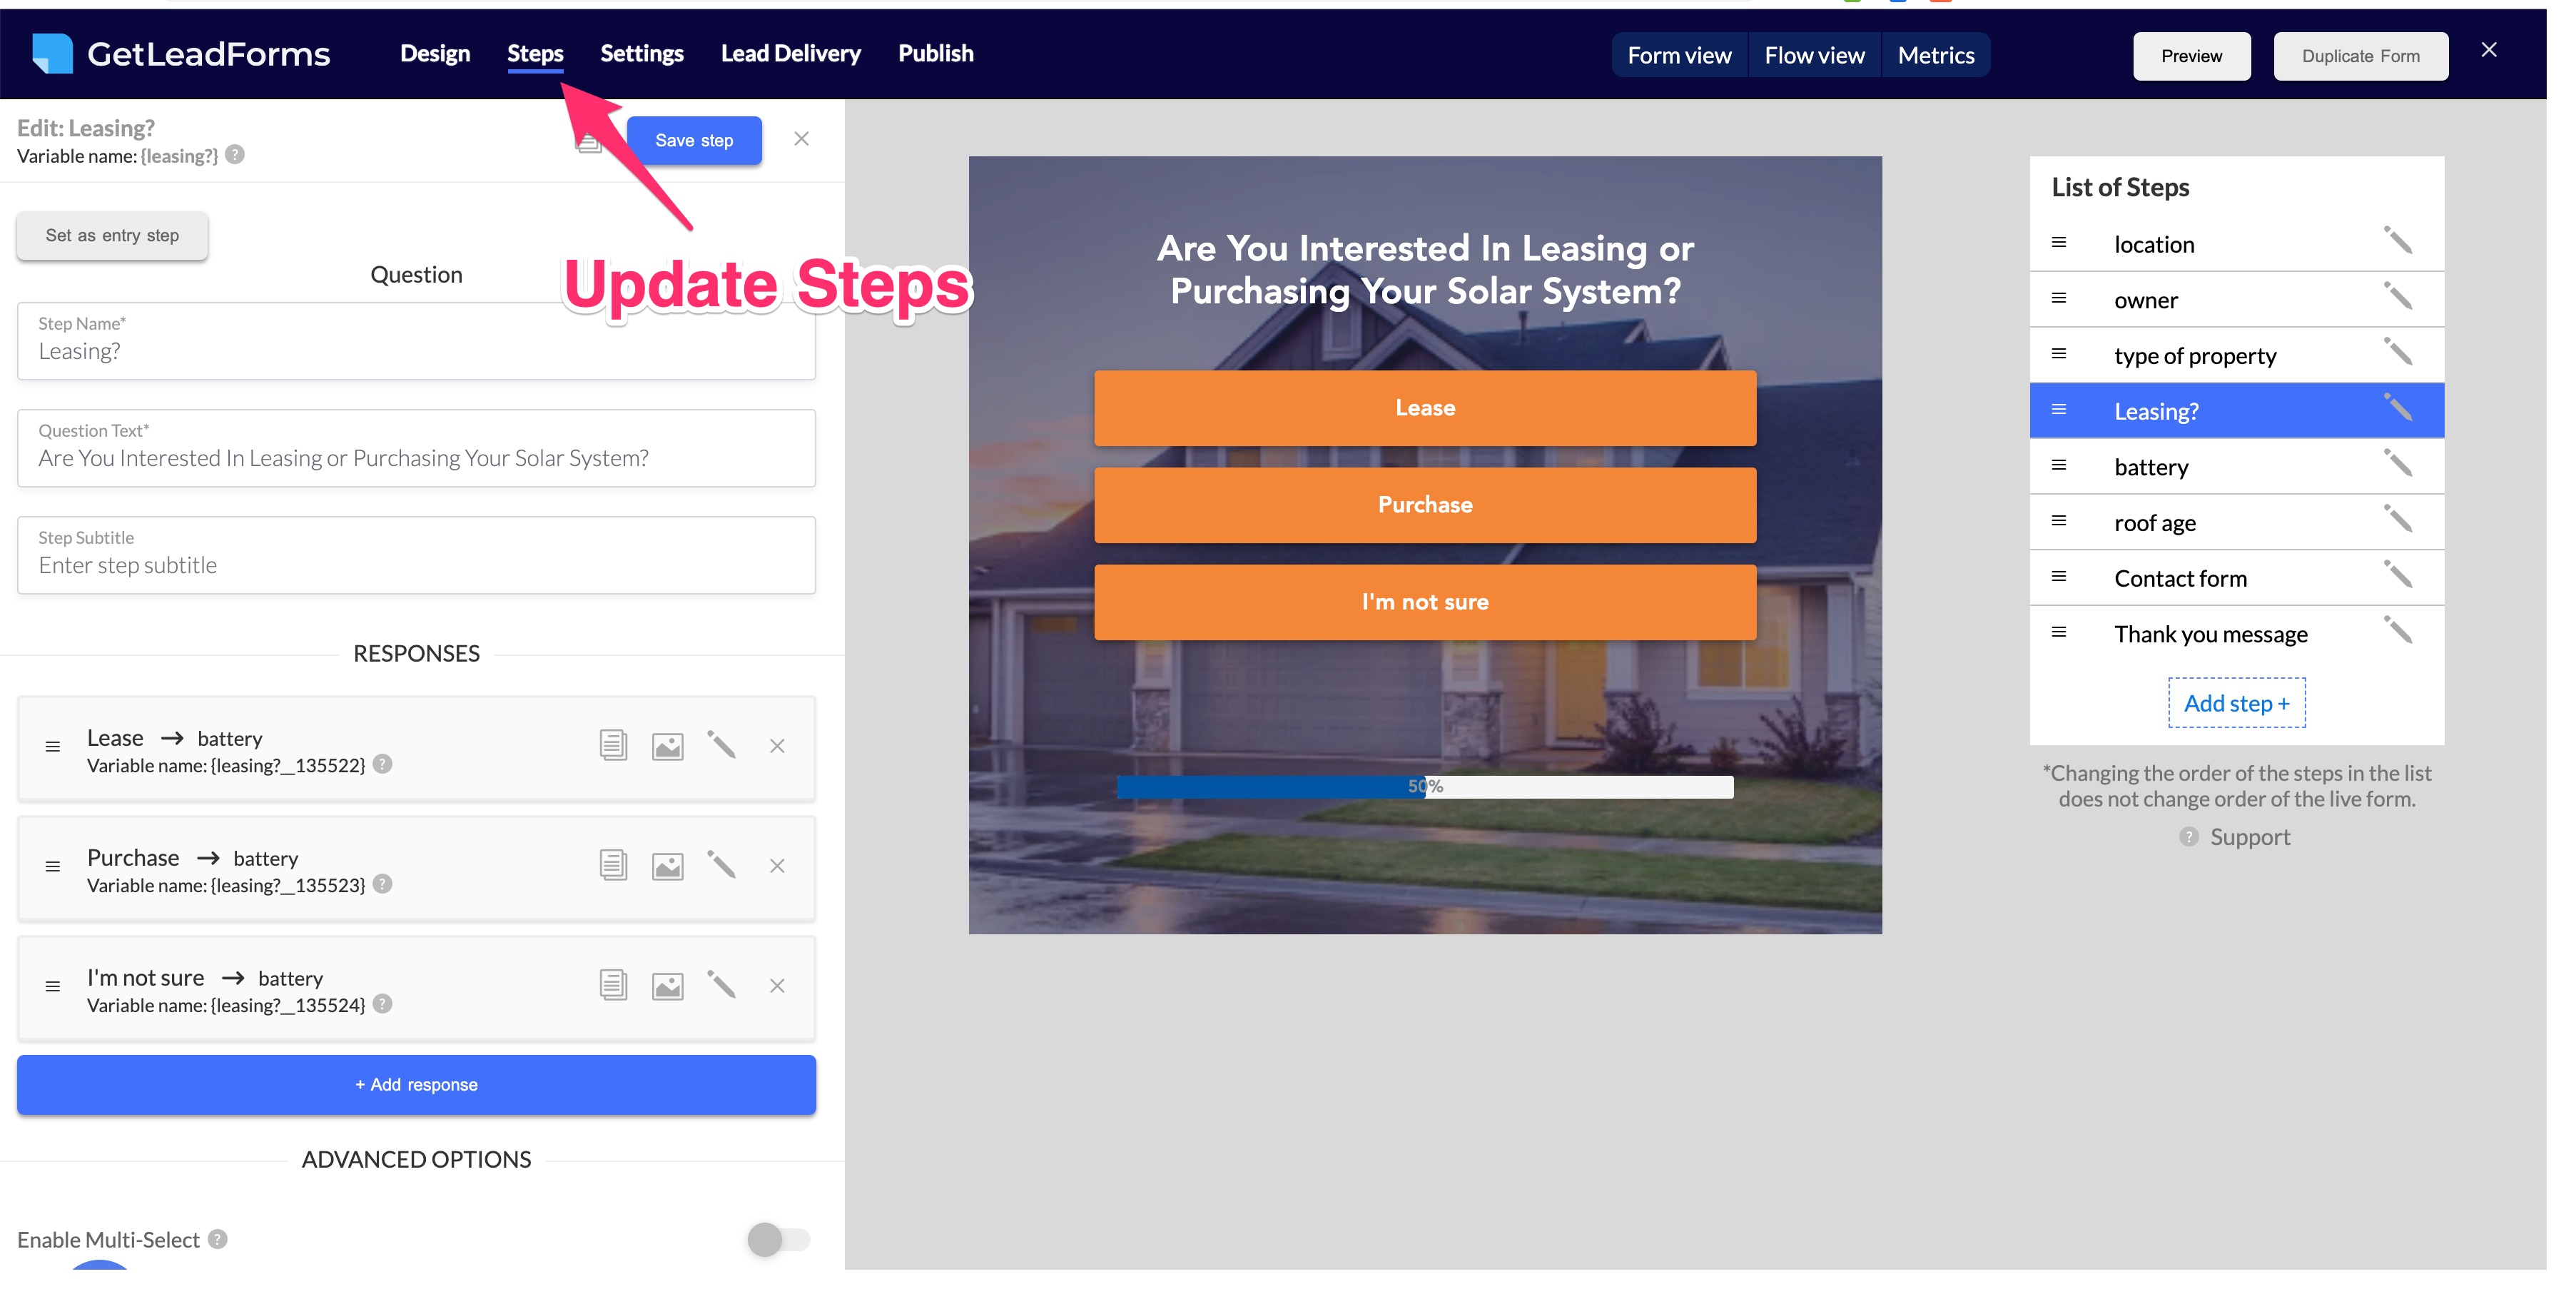
This is where you’ll want to think through some of the important information that you’ll want to extract from your prospect.
4) Tell the system where to send your leads
You can have your leads sent directly to your email.
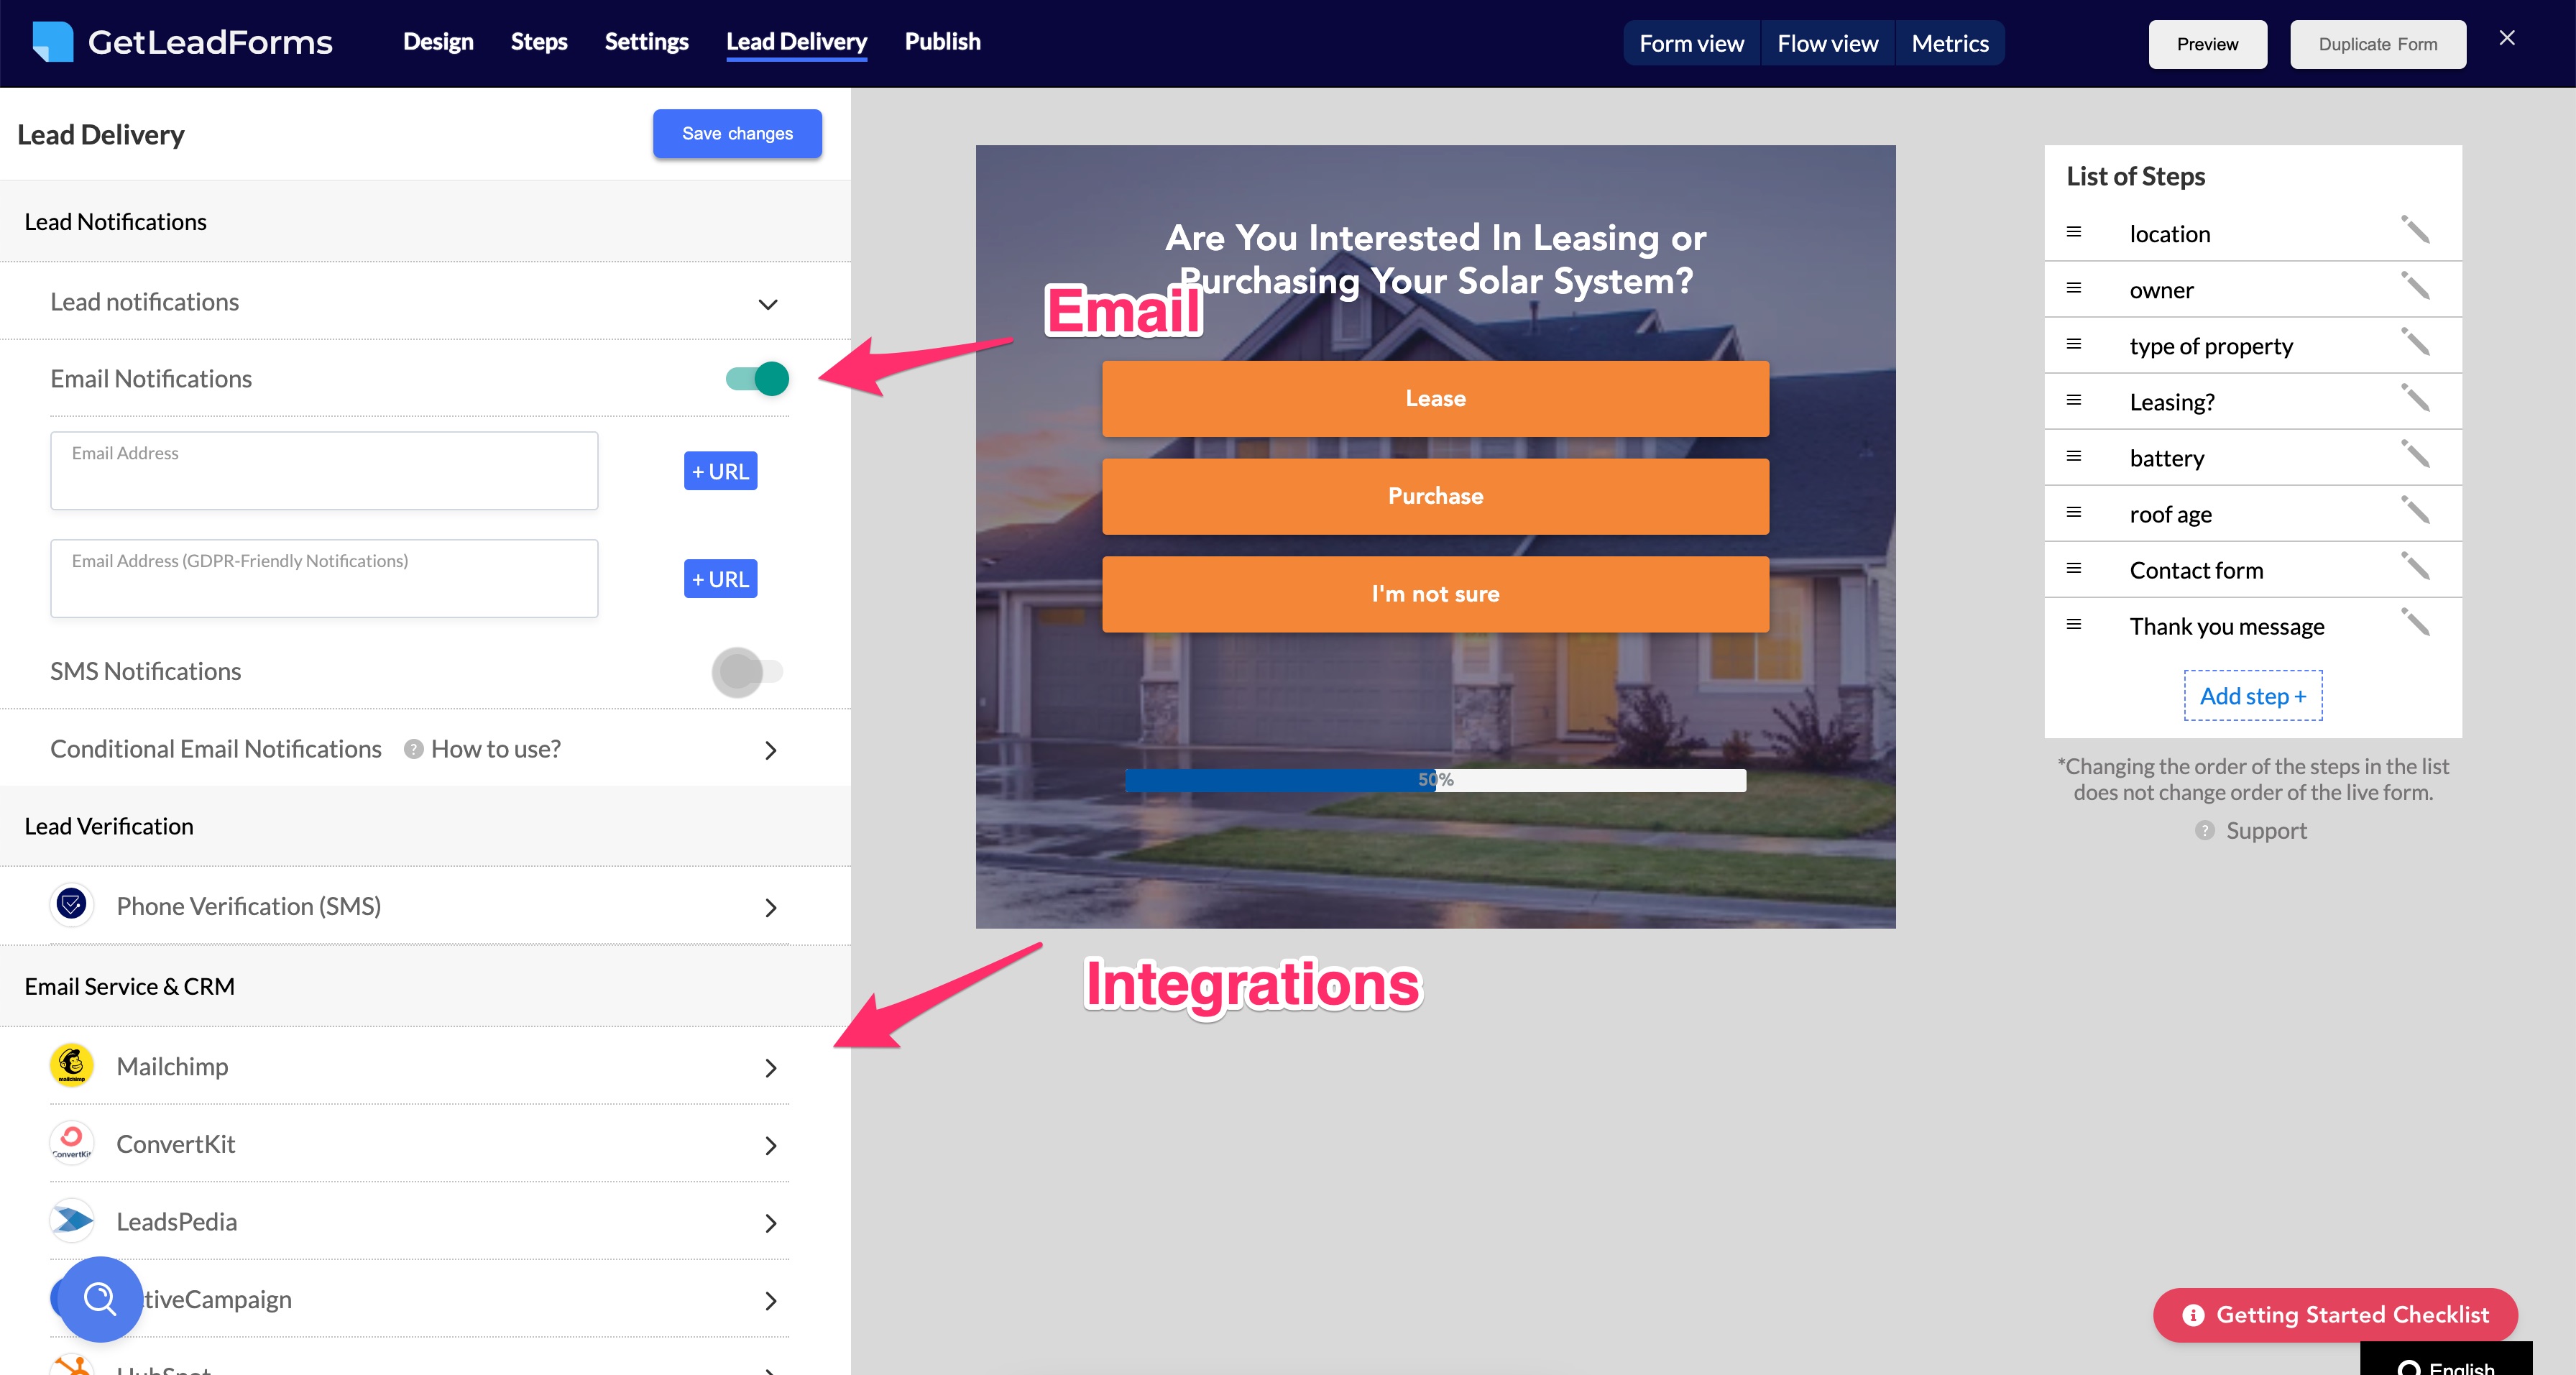
And you can also post leads into your CRM or email system using one of our direct integrations or our webhook.
Our most popular integration is Zapier by far.
5) Copy and paste a line or two of code into Webflow
The final step is to copy and paste your LeadForm into Webflow.
Watch this video to see how to add your Webflow form to your website.
And just like that, your Webflow form will be live and ready to collect leads.
After you publish your form and start getting some leads, a good step six would be to review your data and launch a test to increase conversions.
Best practices for creating a Webflow multi step form that actually converts
Creating a multi step form is one thing.
But creating a multi step form that converts your visitors into leads is a completely different ball-game.
So, before we wrap up, we want to leave you with a few tips around how to ensure that you build a high converting multi step form.
CRO best practice tips:
- Try to design your LeadForm to be as friendly and human as possible. The more conversational you can make your multi step form, the better it will usually perform.
- Avoid asking for personal details upfront. We see higher conversion rates when we start with a low friction ask just to engage the user, then progressively work our way up to the bigger asks like email and phone.
- Wherever possible make it easy for the prospect to complete a form. Auto complete fields whenever possible. Google Address Auto Complete is a great option.
- Adding testimonials and social proof right into your multi step form is a great way to boost conversions. We have found that adding social proof in your forms can boost leads by 33%.
- Multi step forms are great because they make longer forms less overwhelming, but don’t create too many steps — the sweet spot appears to be between 3-5 steps.
- Connect your multi step form to analytics (Google Analytics is a good option) so you can track conversions.
- Test all parts of your multi step form: form size, number of steps, colors, teaser text, social proof, personalization, and more.
- Push leads into your CRM so you can follow-up and turn the leads into revenue.
- Don’t just focus on lead quantity, focus on lead quality too. The job of your form isn’t just to get you a lead, it’s to help you qualify the lead.
With the conversion focused tips above, you can go from building just a basic multi step form for Webflow to a true conversion powerhouse.
Final thoughts around building high converting Webflow multi step forms
At this point, we shared how to build a multi step form in Webflow.
And we provided three ways to go about creating your multi step form.
Along with the pros and cons of each.
In addition, we also threw in some conversion best practices to help you squeeze even more leads out of your Webflow forms.
The next step?
Now it’s up to you to jump in there and take action.
If you’re looking for a faster way, then GetLeadForms is definitely a great option. You can signup for a free trial or see some starter templates here.